
By Lori Straus
Winter is fast upon us, which means changing your tires. Save yourself the lineups and a few dollars by booking your own driveway instead to change your winter tires.
(A word of warning: tires are heavy. Your car is heavier. Please proceed with caution, and if you’re at all nervous, consider booking that appointment to have a mechanic change your tires for you.)
The Tools You’ll Need
Changing tires doesn’t require many tools. You’ll need your tires, a jack, a tire iron, torque wrench, and possibly jack stands and some plywood, depending on what kind of jack you use. Also have your owner’s manual handy, because there may be a thing or two you’ll need to look up.
Jacking up Your Car
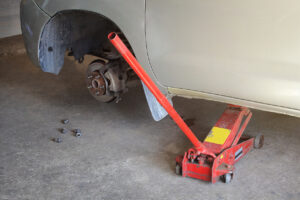
You can use the jack that comes with your car, or you can use a hydraulic jack and jack stands. The jack that comes with your car will require some patience and effort to raise your car, but it doesn’t cost you anything. A hydraulic jack, on the other hand, will raise your car much easier, but it will cost you a little.
However you jack up your car, please be sure to follow the jack’s instructions exactly. Failure to do so could cause injury or worse.
The Steps to Changing Your Own Tires
These steps will work for most vehicles.
- Chock the tires, so the car won’t roll.
- Jack up your vehicle just enough to give some space in the suspension, but not enough to raise the tire off the ground. You’ll do that in a minute. If you’re using a hydraulic jack and jack stands at the front or back of your vehicle, place plywood where the jack stands will be. This will help protect your driveway/garage floor from damage. Follow the hydraulic jack’s instructions to safely support your vehicle.
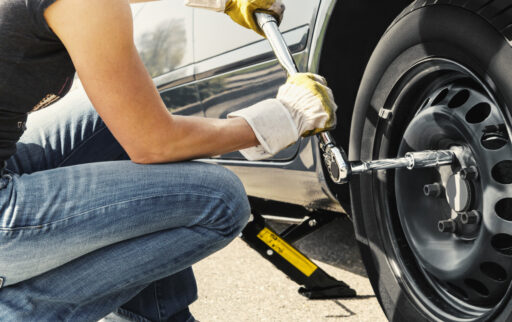
- Using your tire iron, loosen (but don’t remove) each lug nut on the rim. Work in a star pattern, i.e., skip each second lug nut until you’ve loosened all of them. Loosening the lug nuts while the tire is completely off the ground will cause the tire to spin and the lug nuts to stay put.
- Once you’ve loosened the lug nuts, jack your vehicle high enough that the tire clears the ground, but not more.
- Fully remove the lug nuts with your tire iron, again working in a star pattern.
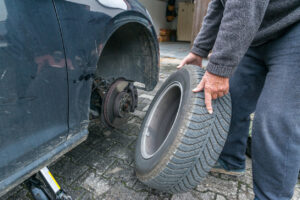
- Carefully remove the wheel and tire.
- Place the winter wheel and tire onto the hub, aligning the holes in the wheel with lugs on the vehicle.
- Attach each lug nut, again working in a star pattern, but only loosely. Do not tighten yet.
- Once each lug nut is on, continue working in your star pattern to tighten each one. The star pattern helps you tighten your wheel evenly all around.
- Lower your vehicle according to your jack’s instructions.
- Use a torque wrench to again tighten each lug nut to the manufacturer specifications. They should be re-torqued after driving around 100km.
Finishing Up
Pile your summer/all-season tires out of the way and take your car for a quick test drive to make sure everything feels right. If any issues come up, do check with a mechanic, especially if this was your first time. If your winter tires are safely on, you can head out on that winter destination road trip or winter overlanding expedition. Or just kick back and enjoy a cup of hot chocolate. After all that work, you deserve it!